Download/ Play
Because Counter-Strike NEO was never planned to be deployed outside the Linux ecosystem, a dedicated emulator is required to run the files.
Currently the game is entirely in Japanese so after running NEO, check out the guide for a detailed walkthrough.
Setup the Emulator
STEP 1
Download the game files and extract the contents2.bin (including the .bin contents). You will need an extraction tool such as 7Zip.
For improved resolutions and graphics, download the CSNEO_ResPatcher. This file is optional.
STEP 2
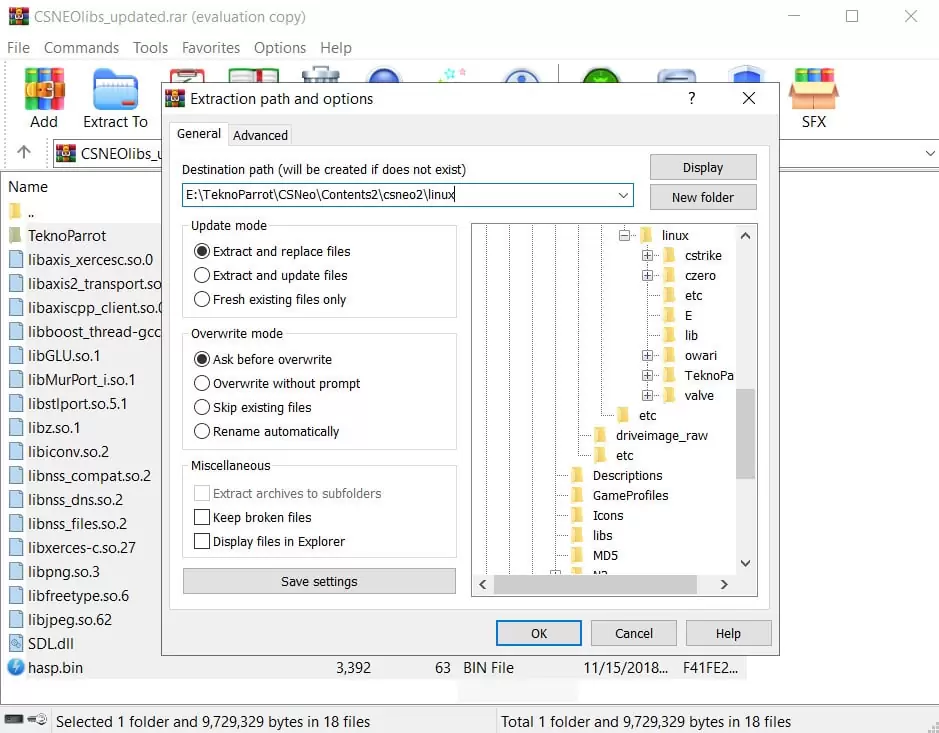
Download the CSNEOLibs_Latest archive and extract the contents to the Contents2\csneo2\linux folder.

STEP 3
Go to the TeknoParrot folder (Contents2\csneo2\linux\TeknoParrot) and open the setting.ini file. Change the FREEPLAY value to 1 so you get unlimited credits.
STEP 4
Download the latest TeknoParrot emulator and extract the contents to the same directory the contents2 folder is at. For example, if you extracted Contents2 at C:\Arcade, do the same for TeknoParrot.
STEP 5
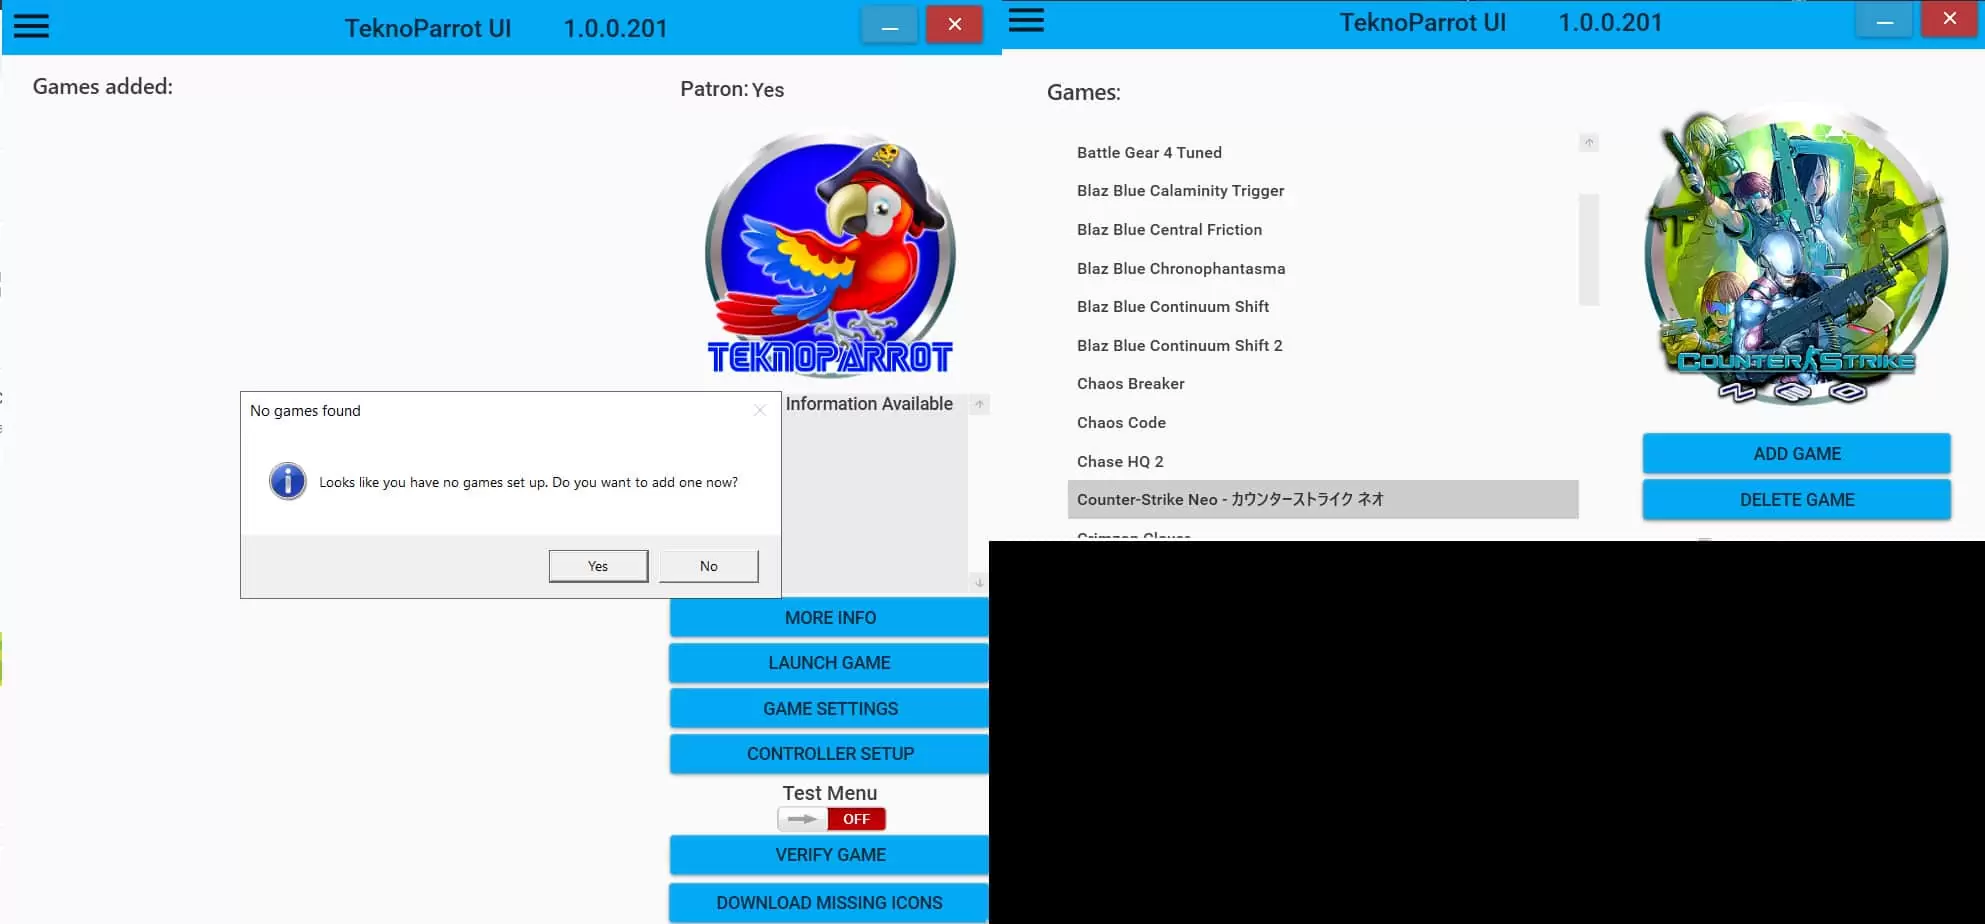
Run TeknoParrotUi.exe and install all available updates prompted. After fully updating TeknoParrot, restart it. This might happen a few times if there are further updates. Re-launch TeknoParrot once again and select Counter-Strike NEO from the game list, then click on the ‘Add Game’ button.

Under the ‘Games Added’, select NEO, followed by the ‘Game Settings’ button.
STEP 6
Click on the space below the ‘Game Executable’ and select the hlds_amd file. The file should be located inside the Contents2\csneo2\linux folder. Save the settings, and you will see a success message on generating csneo.xml.
STEP 7 (FOR AMD GPU USERS)
NVIDIA graphics card users can skip this step. If your system is running on an AMD graphics card, a fix is required. Navigate to the TeknoParrot\N2\AMDFixByNezarn folder, copy the cgGL.dll file and paste it at TeknoParrot\N2 to replace the existing one.
STEP 8
Click on ‘Launch Game’ and wait for for the files to load. This usually takes a short while.
Play the Game
STEP 1
Once the game has fully loaded, access the console with the ALT+F7 keys, and enter the following command:
“login 12” (without quotes).

Feel free to change the numbers to whatever you like; 33, 69, 71 and such.
STEP 2
Click on ‘OK’ on the prompt and enter any username. Then click on the [決定] button, followed by the [はい] button and wait for several seconds. The main menu should appear.
STEP 3
For the sake of simplicity, open the console again with the ALT+F7 key and enter the map (e.g. map neo_06collision). For a list of playable maps, click here.
STEP 4
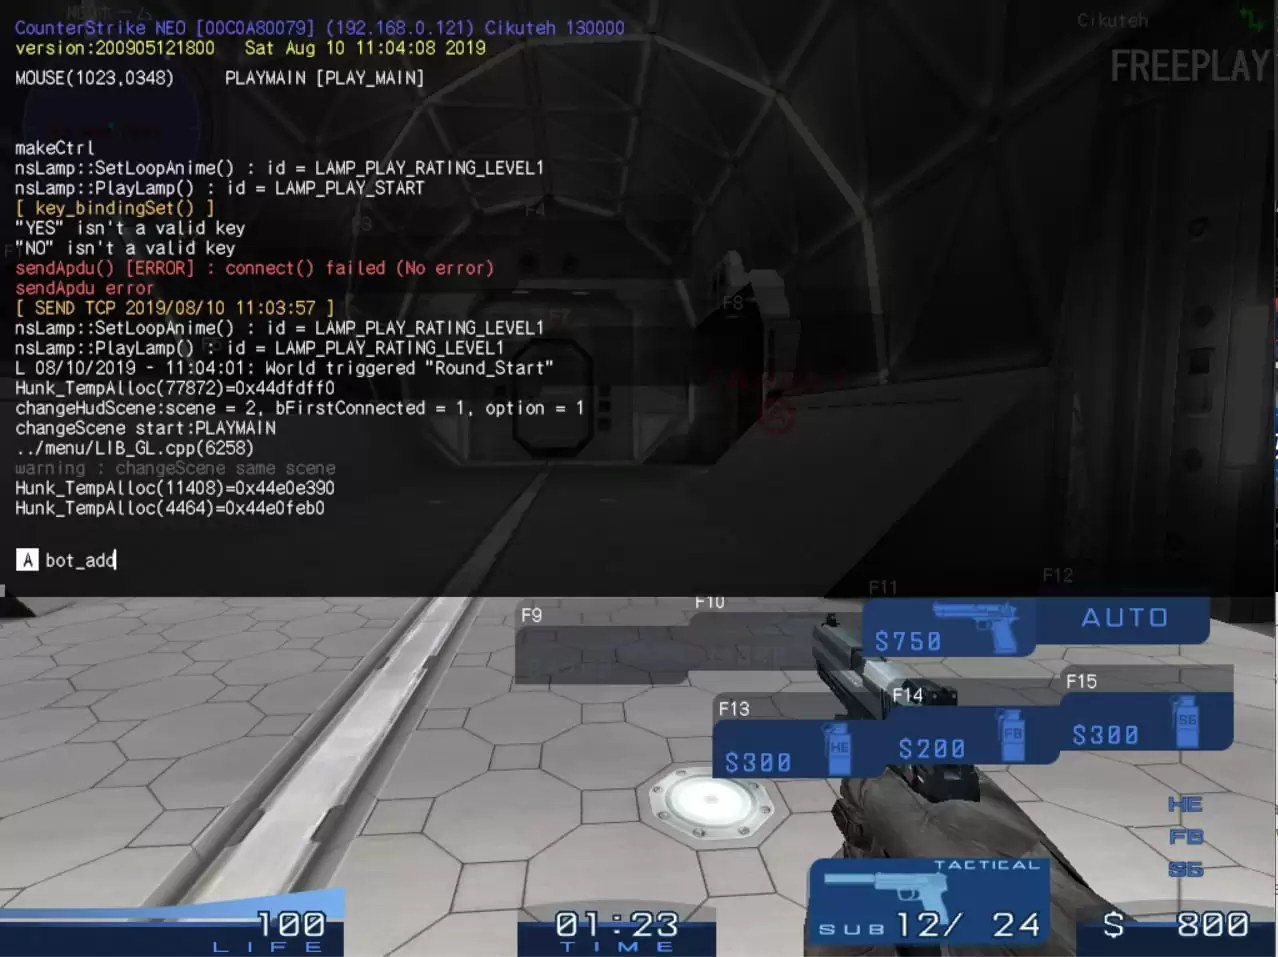
Once the map loads, access the console once again and enter the bot_add command to add bots to the team.

For a walkthrough on how-tos, including LAN/ online play, check out this guide.


